CSS -Styling-Bilder
Erfahren Sie, wie Sie Bilder mit CSS formatieren.
Abgerundete Bilder
Verwenden Sie die border-radiusEigenschaft, um abgerundete Bilder zu erstellen:

Beispiel
Abgerundetes Bild:
img {
border-radius: 8px;
}
Beispiel
Eingekreistes Bild:
img {
border-radius: 50%;
}
Miniaturbilder
Verwenden Sie die borderEigenschaft, um Miniaturbilder zu erstellen.
Vorschaubild:
Beispiel
img {
border: 1px solid #ddd;
border-radius: 4px;
padding: 5px;
width: 150px;
}
<img src="paris.jpg"
alt="Paris">
Vorschaubild als Link:

Beispiel
img {
border: 1px solid #ddd;
border-radius: 4px;
padding: 5px;
width: 150px;
}
img:hover {
box-shadow: 0 0
2px 1px rgba(0, 140, 186, 0.5);
}
<a href="paris.jpg">
<img src="paris.jpg" alt="Paris">
</a>
Responsive Bilder
Responsive Bilder werden automatisch an die Größe des Bildschirms angepasst.
Ändern Sie die Größe des Browserfensters, um den Effekt zu sehen:

Wenn Sie möchten, dass ein Bild verkleinert wird, wenn es sein muss, aber niemals größer als seine ursprüngliche Größe, fügen Sie Folgendes hinzu:
Beispiel
img {
max-width: 100%;
height:
auto;
}
Tipp: Lesen Sie mehr über Responsive Webdesign in unserem CSS RWD Tutorial .
Zentrieren Sie ein Bild
Um ein Bild zu zentrieren, setzen Sie den linken und rechten Rand auf autound machen Sie es zu einem blockElement:
Beispiel
img {
display: block;
margin-left: auto;
margin-right: auto;
width: 50%;
}
Polaroidbilder / Karten
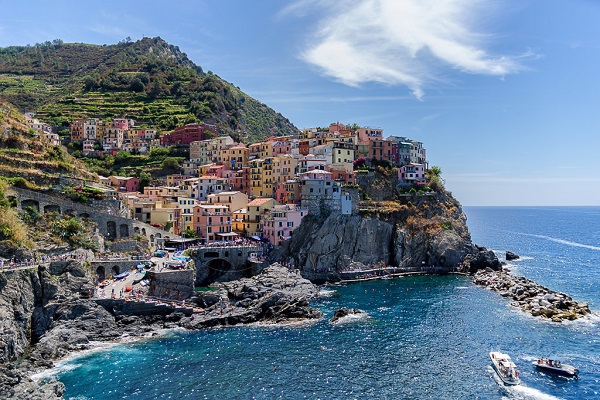
Fünf Länder

Nordlichter
Beispiel
div.polaroid {
width: 80%;
background-color: white;
box-shadow: 0 4px 8px 0 rgba(0,
0, 0, 0.2), 0 6px 20px 0 rgba(0, 0, 0, 0.19);
}
img {width: 100%}
div.container {
text-align: center;
padding: 10px 20px;
}
Transparentes Bild
Die opacityEigenschaft kann einen Wert von 0,0 bis 1,0 annehmen. Je niedriger der Wert, desto transparenter:
Opazität 0,2
opacity 0.5
opacity 1
(default)
Example
img {
opacity: 0.5;
}
Image Text
How to position text in an image:
Example
Try it Yourself:
Image Filters
The CSS filter property adds visual effects (like blur and saturation) to an element.
Note: The filter property is not supported in Internet Explorer or Edge 12.
Example
Change the color of all images to black and white (100% gray):
img {
filter: grayscale(100%);
}
Tip: Go to our CSS filter Reference to learn more about CSS filters.
Image Hover Overlay
Create an overlay effect on hover:
Example
Fade in text:
Example
Fade in a box:
Example
Slide in (top):
Example
Slide in (bottom):
Example
Slide in (left):
Example
Slide in (right):
Flip an Image
Move your mouse over the image:
Example
img:hover {
transform: scaleX(-1);
}
Responsive Image Gallery
CSS can be used to create image galleries. This example use media queries to re-arrange the images on different screen sizes. Resize the browser window to see the effect:


Example
.responsive {
padding: 0 6px;
float: left;
width: 24.99999%;
}
@media only screen and
(max-width: 700px){
.responsive {
width: 49.99999%;
margin: 6px
0;
}
}
@media only screen and (max-width: 500px){
.responsive {
width: 100%;
}
}
Tip: Read more about Responsive Web Design in our CSS RWD Tutorial.
Image Modal (Advanced)
This is an example to demonstrate how CSS and JavaScript can work together.
First, use CSS to create a modal window (dialog box), and hide it by default.
Then, use a JavaScript to show the modal window and to display the image inside the modal, when a user clicks on the image:

Example
// Get the modal
var modal = document.getElementById('myModal');
// Get the image and insert it
inside the modal - use its "alt" text as a caption
var img =
document.getElementById('myImg');
var modalImg = document.getElementById("img01");
var captionText = document.getElementById("caption");
img.onclick =
function(){
modal.style.display = "block";
modalImg.src = this.src;
captionText.innerHTML = this.alt;
}
// Get the <span> element that closes the modal
var span =
document.getElementsByClassName("close")[0];
// When the user clicks
on <span> (x), close the modal
span.onclick = function() {
modal.style.display = "none";
}